Garbage Cookie

Salty Sweet Amazing

These cookies were put together during a rare night I got to myself. I needed something sweet and a project to keep me busy.

Ingredients

  • 2 1/2 cups flour
  • 2 tsp. baking soda
  • 1 tsp. salt
  • 2 sticks butter
  • 3/4 cup granulated sugar
  • 3/4 cup brown sugar
  • 1 tsp. vanilla
  • 2 large eggs
  • 1/4 cup pretzel pieces
  • 1/2 cup mixed candy(m&m, peanut butter cups, butterscotch bits, etc.)

Directions

  1. Mix your flour, salt and baking soda together in a small mixing bowl.
  2. In the bowl of a stand mixer cream your butter, sugar, vanilla and eggs together till light and fluffy.
  3. Add your dry ingredients to your wet ingredients till well combined.
  4. Fold in your mix-ins till evenly combined in your dough.
  5. Spoon out your cookies onto a parchment lined baking sheet. About an inch apart.
  6. Place a pretzel into the top of each cookie.
  7. Put in an oven preheated to 375 for 9 minutes till golden brown.

Ta Da! Garbage cookies!

Lemon Cream Cheese Sugar Cookies: An experiment

Yesterday I was home with my son and decided I wanted to bake some cookies I had never made before. I Used Rosanna Pansino’s Cream Cheese Sugar Cookie recipe as a jumping off point. I added about 1/3 cup of lemon curd to the recipe. It made them very moist but strangely didn’t impart very much lemon flavor. I think the next time I make them I’m going to make them like thumb print cookies. I’ll create a well in the cookie so when it bakes there’s a place to put lemon curd after they’re baked. Then I’ll cool them so they resemble a lemon bar.

Ingredients

  • 1 and 1/4 sticks of butter
  • 3 ounces cream cheese
  • 3/4 granulated sugar
  • 1/2 tsp. salt
  • 1 tbsp. powdered sugar
  • 1 tsp. vanilla
  • 1 egg
  • 2 cups flour
  • 1/3 cup lemon curd

Directions

  1. Mix everything except the flour in a stand mixer or with a hand mixer until its light and fluffy.
  2. Add the flour and mix until well combined.
  3. Dump cookie dough onto your work surface and roll it into a tube shape. Wrap in plastic wrap and chill for an hour.
  4. Preheat oven to 375 and line 2 baking sheets with parchment paper. Cut pieces off the dough and roll into golf ball shapes. Smash dough ball to about half an inch. Cake for about 12 minutes.
  5. Let cool completely before you eat them.

When I let them cool completely the extra moisture sort of recombined into the cookie. Like letting a steak rest and letting the juices go back into the meat. They were not quite what I wanted but they had a good flavor. The texture of them was like cheesecake to a certain degree which I didn’t expect but was good.

I’m going to try them again at a later date and see if I can tweak the recipe a little.

Crisper Drawer Spice Cake

So the other day I did a recipe lab for my Beef Ragout, and I had left over carrots and parsnips in my crisper drawer. Unlike lumiere I was not trying to feed a whole castle instead just 3 teensy weensy people, but Walmart won’t sell you these particular root vegetables individually.

Cut to last night as I’m standing in my kitchen craving carrot cake and thought…

“Why not put parsnips in it too?”

This sparked the best cake I think I’ve baked so far…Crisper Drawer Spice Cake.

Ingredients

  • 2 cups flour
  • 1 cup granulated sugar
  • 1 cup light brown sugar
  • 1/4 tsp. salt
  • 2 tsp. baking soda
  • 1 tsp. baking powder
  • 1 tsp. ground ginger
  • 2 tbsp. pumpkin spice seasoning
  • 3 eggs
  • 1 1/4 cup vegetable oil
  • 2 cups mixed carrot/parsnip, grated (I used two parsnips and one carrot)

Directions

  1. Add all your dry ingredients to the bowl of your stand mixer or a medium size mixing bowl. Mix on low setting to combine.
  2. Add oil, eggs and root veg mixture and stir until well combined.
  3. Place in a bread pan in a 350 degree oven for one hour.

The Everything Biscuit

I call it a biscuit and not a cracker because it doesn’t snap like a cracker does. It’s a little fluffy, but it stands up to dipping and the flavor is buttery and delicious.

Buttery and delicious

Ingredients

  • 2 cups all-purpose flour
  • 1 teaspoons baking powder
  • 1/2 teaspoon salt
  • 6 tablespoons cold unsalted butter, cut into cubes
  • 2 tablespoons vegetable oil
  • 2/3 cup cold water
  • 2 tablespoons everything bagel seasoning(I use trader joes version)

Directions

  1. Preheat your oven to 400 degrees. Line two baking sheets with parchment paper. If you only have one you are going to have to cook in batches.
  2. Put flour, butter, salt, baking powder and everything bagel seasoning in a food processor and blend.
  3. Put vegetable oil and water in the food processor and blend till the dough comes together.
  4. Flour your work surface and knead the dough for a moment till it comes together in a nice smooth ball. Divide dough in half. Roll out to about an 1/8th of an inch. Cut out with a small round cookie cutter or cut into small squares with a pizza cutter.
  5. Arrange on your baking sheets and poke holes in them with a toothpick. It will help stop some of the rise so they don’t puff up too high.
  6. Bake for 10 minutes. Put them on a plate or in a bowl to cool.
  7. Serve with cheese or dip or just eat them directly out of the bowl without sharing.

Cheesy Bacon Breakfast Muffin

One of my many recent late night baking projects. You can definitely swap the Parmesan for any other shredded cheese you have. It was just the only cheese I had in the house.

Ingredients

  • 2 cup all purpose flour
  • 2 tsp. baking powder
  • 1 tsp. salt
  • 1/4 tsp. chili flake
  • 1/4 tsp. dried oregano
  • 1/4 cup bacon pieces ( Not bacon bits but real bacon pieces I found in the salad topper section)
  • 1/2 cup parmesan cheese
  • 3/4 cup buttermilk
  • 1/2 cup melted unsalted butter
  • 2 eggs
  • More parmesan for dusting on top

Directions

  1. Preheat oven to 350.
  2. Add flour, salt, baking powder, oregano and chili flake to a medium sized mixing bowl and whisk to combine.
  3. Add eggs, butter, milk, cheese and bacon and combine.
  4. Line two muffin tins with cupcake liners. This recipe should make around 18 muffins. Fill your cupcake liners about 2/3 full. Any higher it’ll bake over the side and then you get wonky muffins.
  5. Sprinkle parmesan on top of each muffin and bake for 27-30 minutes.
  6. Put them on a wire rack to cool for about five or so minutes before eating.

Garlic Butter Naan Bread

Ingredients

  • 1 cup warm water
  • 2 tablespoons honey
  • 1 (.25 ounce) package instant yeast (about 2 1/4 teaspoons)
  • 3 1/2 cups all-purpose flour
  • 1/2 cup plain yogurt
  • 2 teaspoons salt
  • 1/2 teaspoon baking powder
  • 1 egg
  • 1/4 cup (4 tablespoons) butter
  • 3 cloves garlic, minced

Directions

  1. Stir honey and warm water together in a medium sized mixing bowl. Stir until honey dissolves.
  2. Add yeast to bowl and stir together. Wait about 5-10 minutes until the yeast mixture becomes frothy. Mix with a spatula until the dough comes together. It should be slightly sticky.
  3. Remove the dough from the bowl and oil the sides of your mixing bowl. Flour your work space and knead the dough into a smooth ball. Place it back into the bowl and cover with a damp towel. Let it proof in a warm spot in your kitchen for about an hour. You want it to double in size.
  4. While the dough is proofing melt the butter in a pan and place the garlic in the butter. Cook for about 3 minutes until the garlic becomes fragrant then remove from the heat. Strain some but not all of the garlic out and set the butter aside in a small container. (I used a tiny Tupperware container)
  5. When the dough has doubled in size transfer it to a floured surface and cut it into 8 pieces. Roll it to about 1/4 inch thick into whatever shape it takes. An oval or some oblong square is what I ended up with.
  6. Heat a large saute pan to medium heat and place naan in the pan. Cook on one side for a minute then flip and cook for a minute on the other side. It should rise in the pan and get small brown spots.
  7. Now I brushed the dough with the butter after I cooked it, but after cooking it I would recommend brushing the dough before you cook it.
  8. Cover the naan until you are ready to use it so it doesn’t dry out.

Skillet Flatbread

For those who caught the last post flatbread has not been my friend this week. It’s been a struggle trying to figure it out, but today we made it!

This is what success looks like

Ingredients

  • 2 cups all purpose flour
  • 2 tablespoons melted butter
  • 1 teaspoon salt
  • 2/3 cup water
  • either butter or oil to fry in

Directions

  1. Put flour and salt in a medium size mixing bowl and whisk to combine.
  2. Melt butter in microwave for about a minute.
  3. Put melted butter and water in bowl with dry ingredients and combine with either a wooden spoon or plastic spatula until dough comes together. It shouldn’t be wet or shaggy looking. It should come together nice and smooth.
  4. Flour your work surface and rolling pin. You don’t want the flatbread to stick. Roll them roughly 1/8th of an inch thick. They should be VERY thin. You’re looking for them to be the size of a small tortilla(approx. 6 inches across) They won’t puff and cook properly if you don’t roll them out thin enough. Also make sure you pat a lot of the excess flour off the dough.
  5. Heat your pan to slightly above medium heat and put either the butter or oil in the pan. Wait for the butter to melt or the oil to shimmer in the pan and move like water.
  6. Cook them for about 10 seconds on one side and then flip them. Cook them for roughly a minute on that side. You’re looking for small brown spots to appear on the dough. When that starts to happen you want to flip it and cook it for roughly a minute on the other side. You want them to be soft and buttery.
  7. Put them on a paper towel covered plate and lightly sprinkle them with salt. Continue cooking till all batter is gone.

Learning how to make this flatbread was an adventure full of tremendous lows. I was losing hope that I would ever get it right. Then it just all fell into place this morning. My suggestion for these flatbread are as a tortilla for a breakfast taco.

Breakfast of Champions

Flippin Flatbread Man…

There’s so much flour on my floor…

I need an apron…

Literally my internal monologue every time I bake. Anyway…

So I decided this week to try something new. I wanted flatbread. I wanted it bad guys. I’d seen someone on Bon Appetit do it so I thought I could too. Nothing I’ve baked so far has failed so this will be fine. This was definitely not how that went.

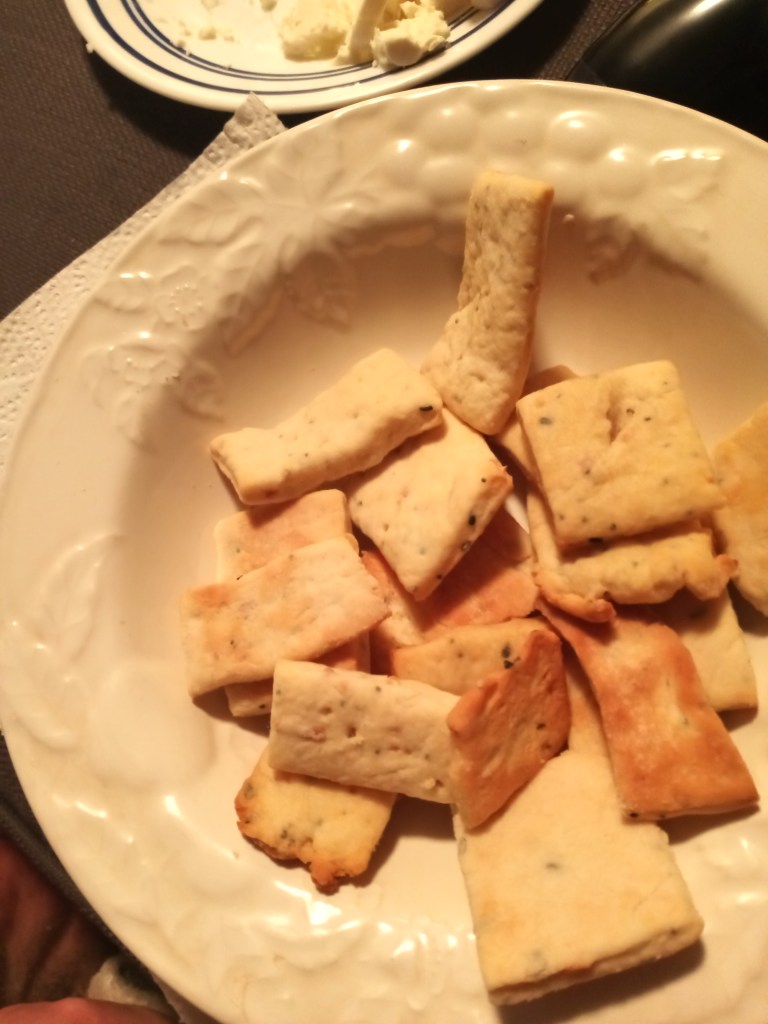
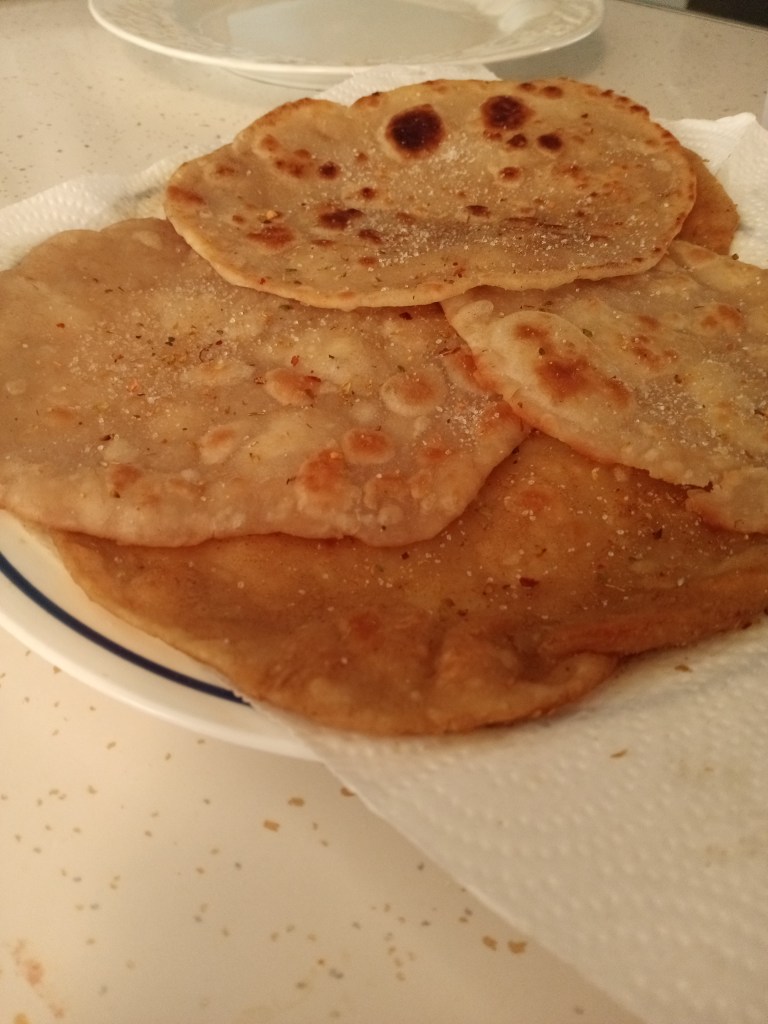
The first recipe I tried was from King Arthur Flour. It was for a skillet flatbread. The biggest thing I learned from this process is i’m not quite certain what an 1/8th of an inch looks like. My flatbread were very thick even though I thought I squished the ever living heck out of them. I also either had too hot of a pan or I tried to cook them for too long because the oil I was frying them in burned the outside. You know flatbread is supposed to have nice brown spots on the outside to let you know its done cooking. The spots these had were not that. The spots these had were the sad kind that makes your house smell like burnt toast. Then when you broke into them the smell of raw dough hits your nose. Quite frankly the whole thing was a damn disaster.

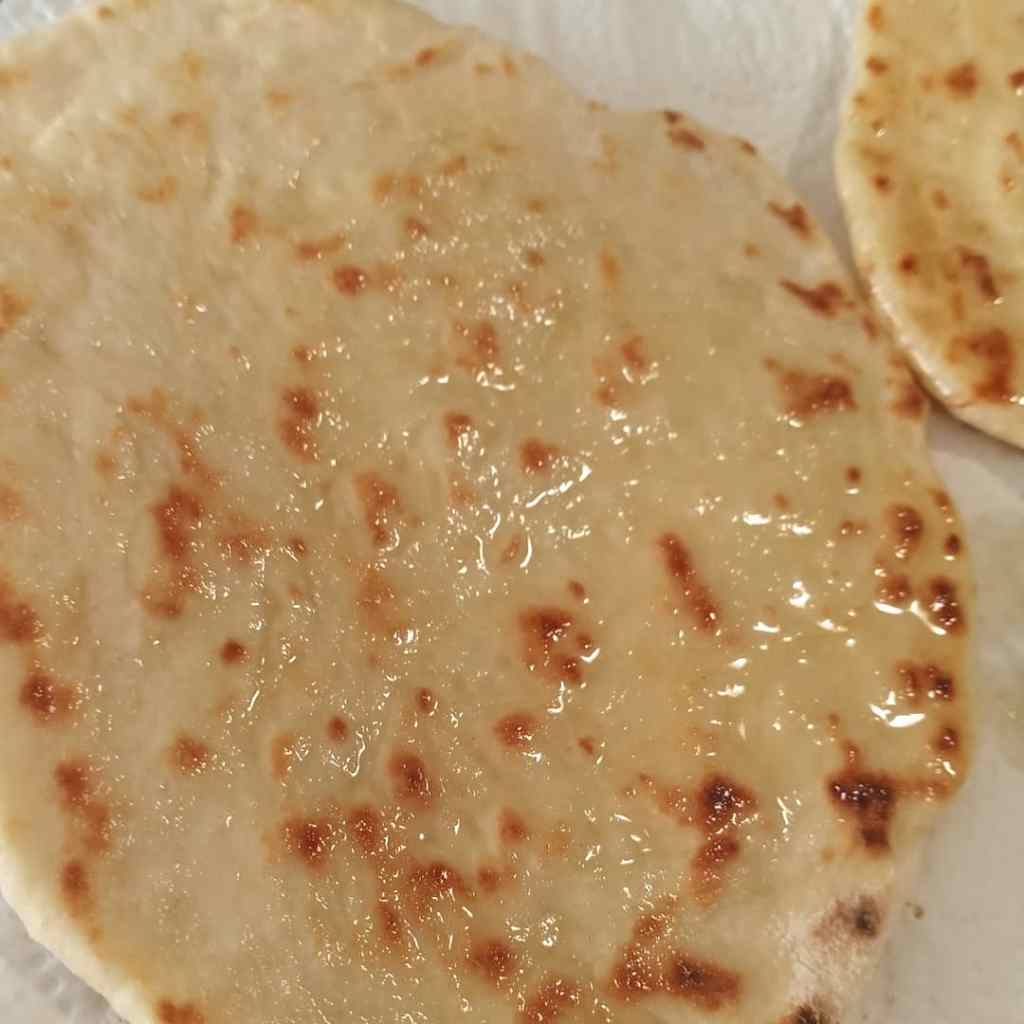
So the next day I tried something different. I tried Indian Roti. It was a similar dough except the oil was replaced with butter. It called for pretty much ALL the butter. The needed to be thin and soft and delicious. They also needed to be rolled out nearly paper thin so it would puff when you fried them. I was pretty sure I was right on track to do it properly. They rolled out nicely. I had to use quite a lot of flour to get them to roll out and not stick. This looking back was not great. I put my butter in my medium heat pan and it melted nicely. Then I put the roti in and pretty instantly all my butter browned.

Now don’t get me wrong brown butter is great when it’s what you want, but this had crossed over into burnt. I don’t know if the roti had too much flour on it going in the butter but they were very dark and oily. Through all the burnt butter and weird puffing that proved I didn’t roll them thin enough like I thought they did get closer then the other bunch. The browned without charring and one out of the five I made seemed to cook all the way through. It was still brown and not attractive but I was close.

Truly I don’t know what I could’ve done differently with that second batch. Different butter? Lower temp on my pan? Possibly a thinner roll? I will definitely try the second recipe again because I got closer to a finished product.

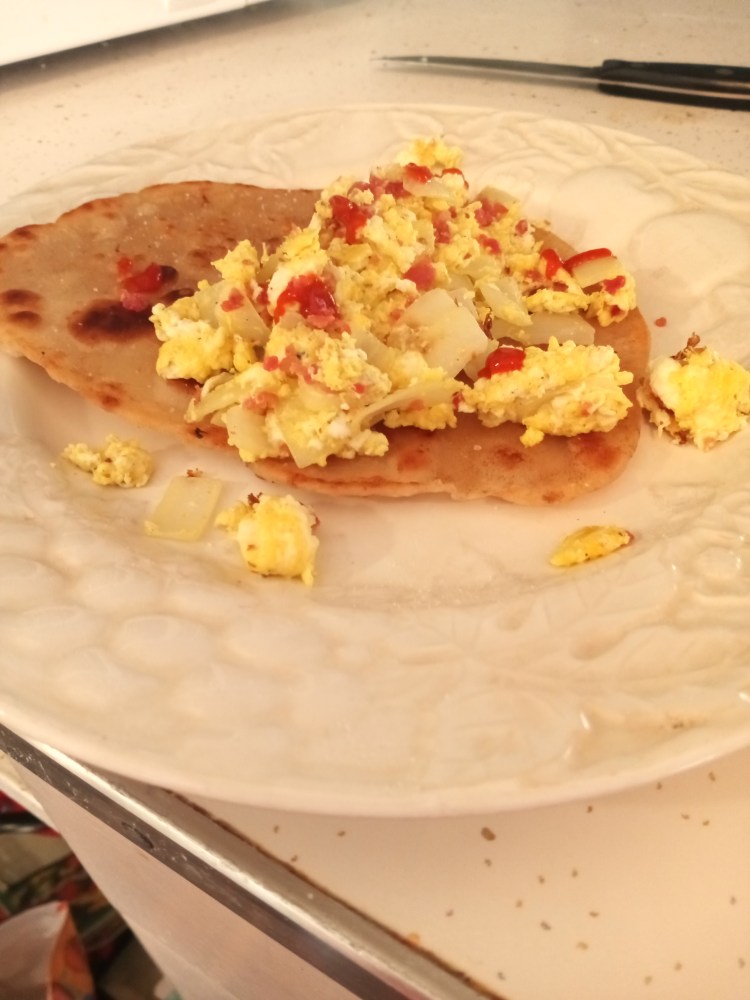
I definitely want to be able to cook fresh flatbread with my curry. Fresh baked is always better then store bought so we’ll see what happens next time.

Here’s the links to the recipes I tried:

https://www.kingarthurflour.com/recipes/skillet-flatbreads-recipe

https://thefoodcharlatan.com/roti-buttery-indian-flatbread/